Powder Room Wall Treatments: Wainscoting, Shiplap, and Beadboard

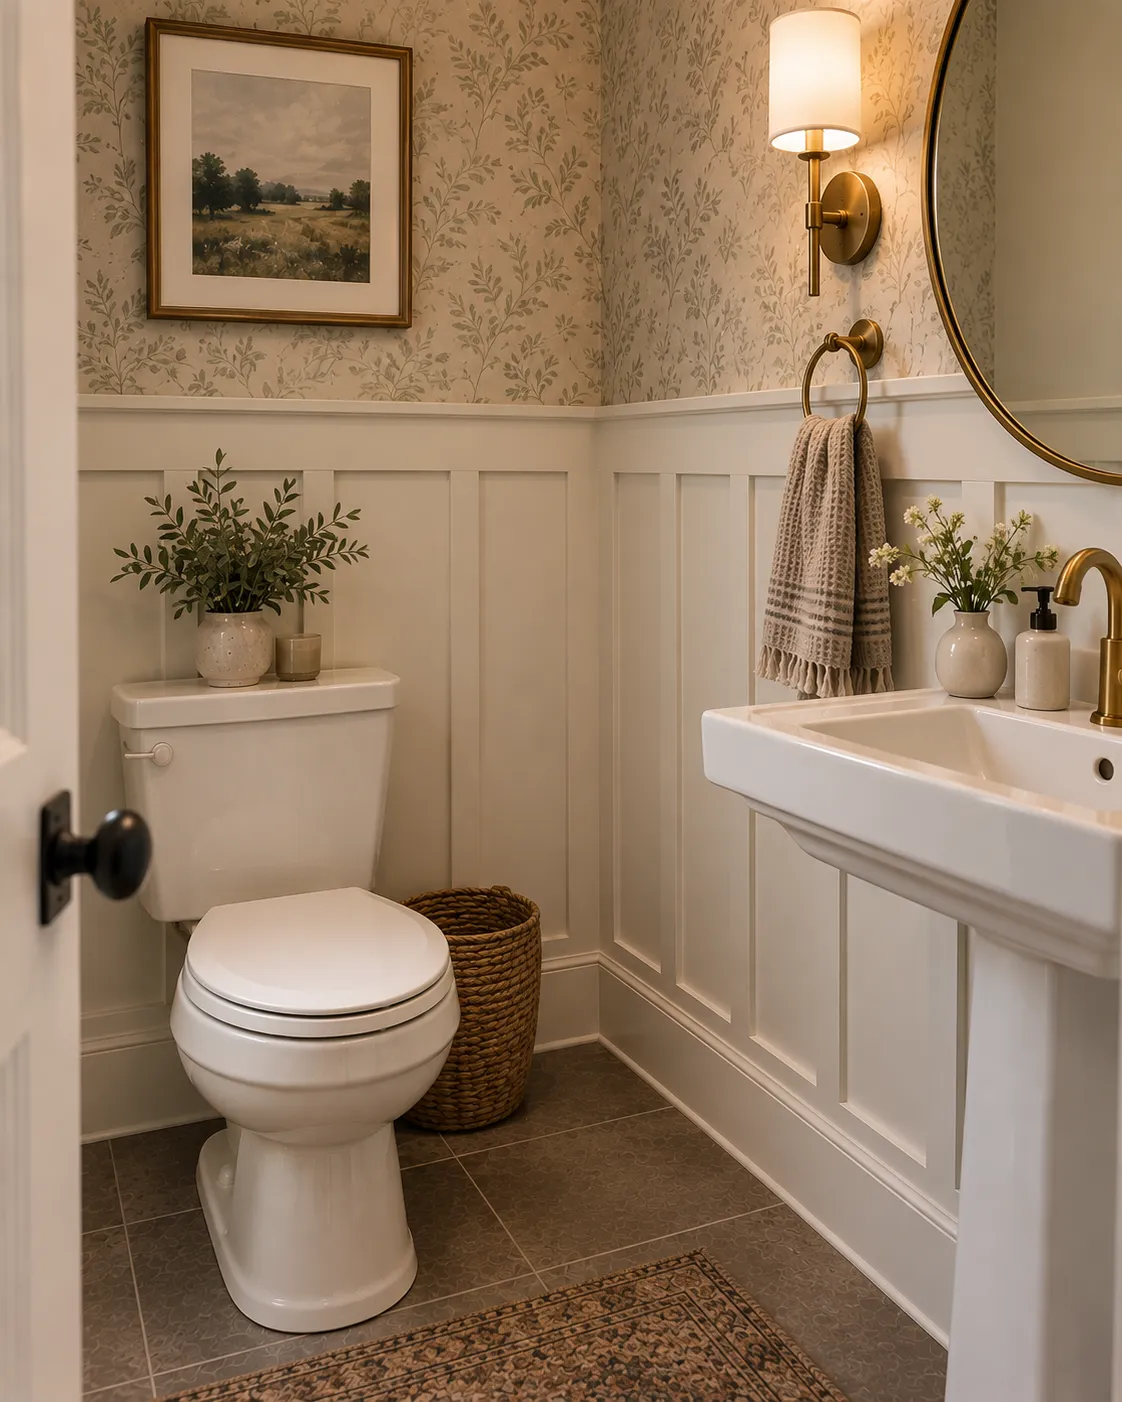
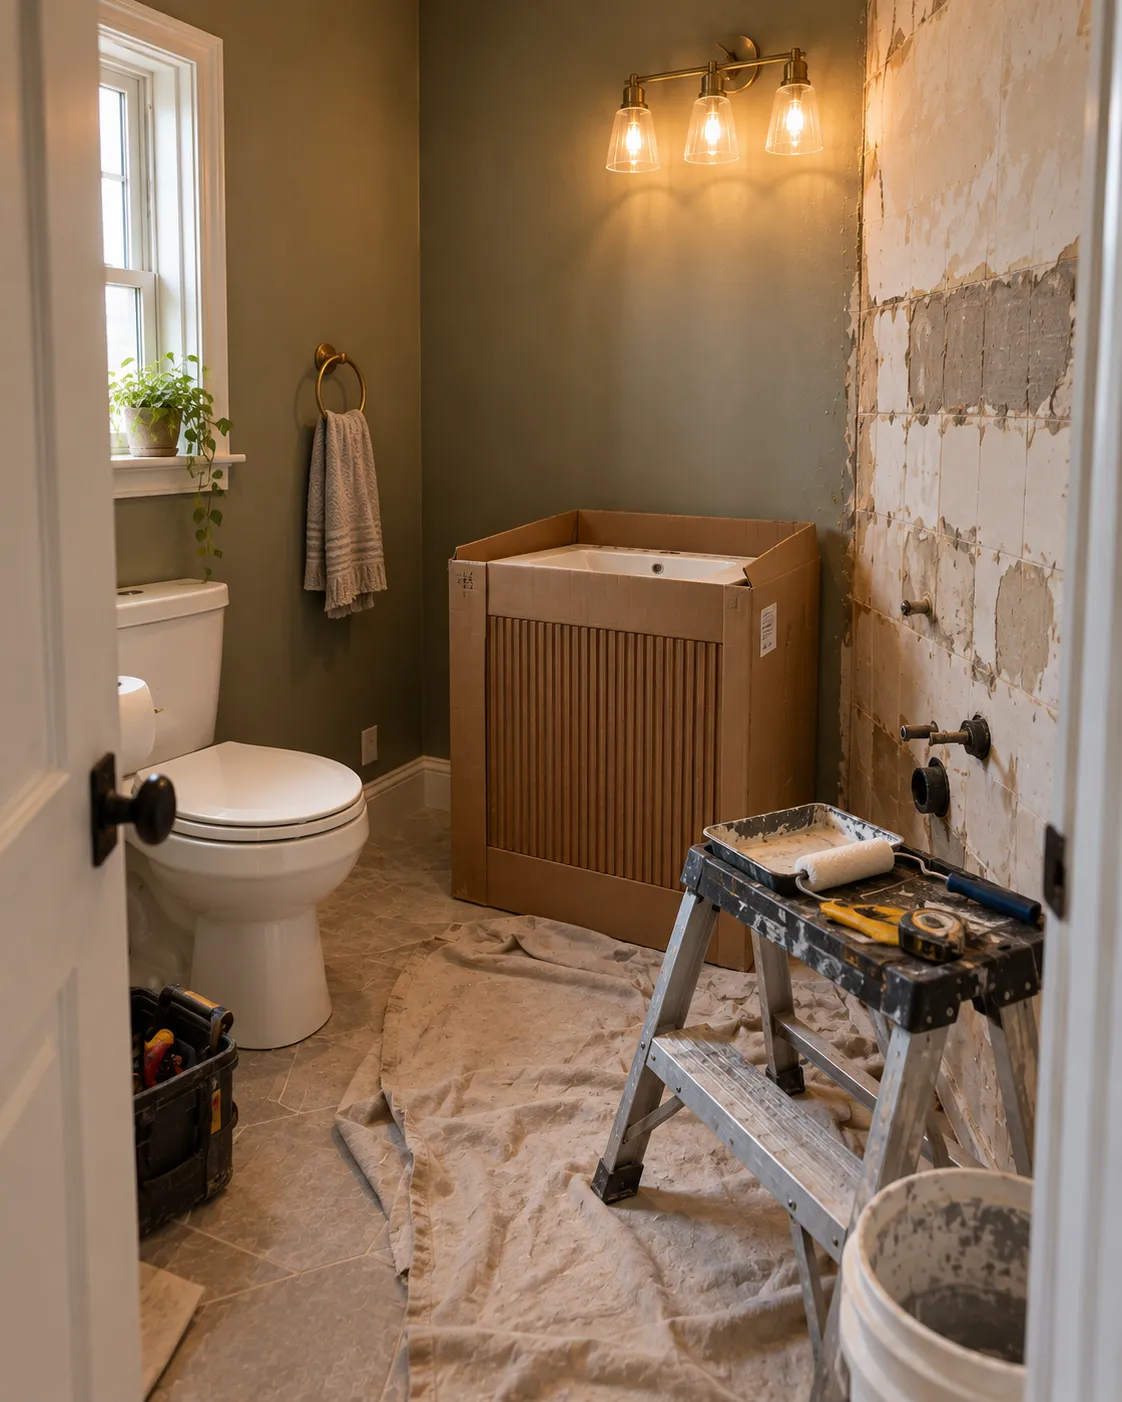
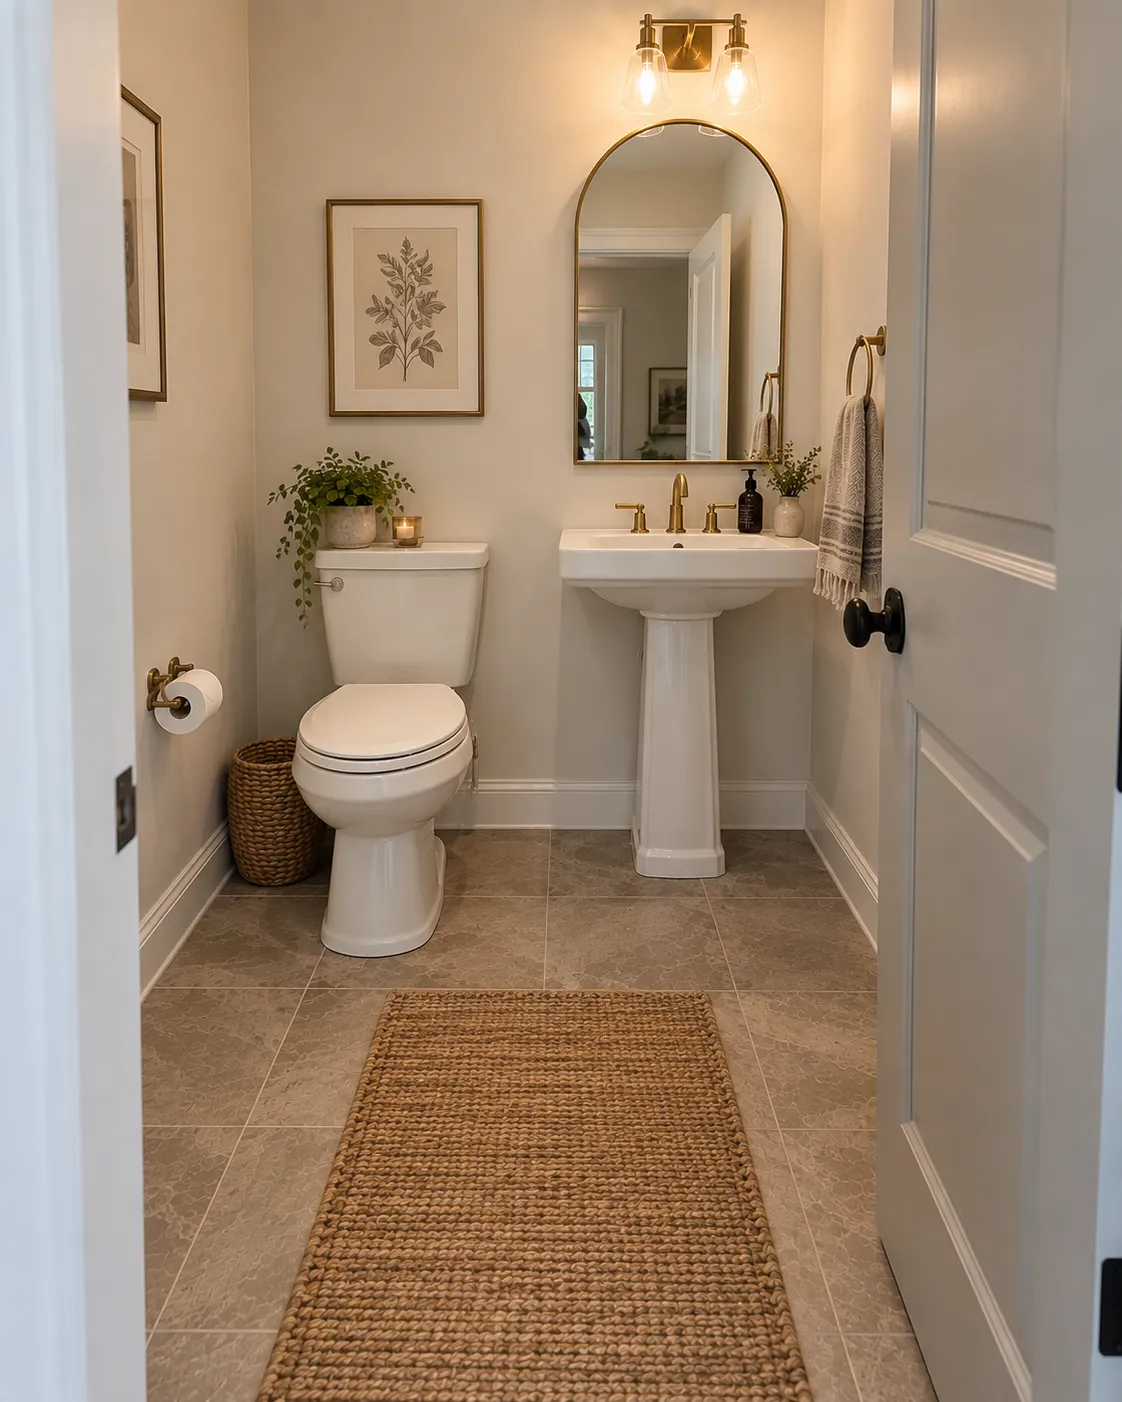
Refreshing a neighbor’s builder-grade tract-home powder room is where I’ve actually done wall-treatment work like this — the same beige-and-brass starting point most builder-basic bathrooms ship with, made to look considerably more finished for a genuinely modest material cost.
Pick a moisture-safe material first
This is the step the general DIY content skips, and it matters more than the style choice. A powder room doesn’t get direct shower spray, but ambient humidity is still enough over time to warp or swell a standard wood or non-rated MDF batten — especially low on the wall, where mopping and splash concentrate. PVC trim boards, or an MDF product explicitly rated for moisture, are the safer call directly around the sink and floor; standard wood is fine higher up the wall where humidity has less direct contact.
The three styles, and real costs
Board and batten — vertical strips over a flat panel, a clean and versatile look that suits most house styles. Material runs roughly $10–$23 per square foot.
Shiplap — horizontal overlapping boards, reads more rustic or cottage-style. Material runs roughly $10–$20 per square foot.
Beadboard — vertical grooved panels, often sold in full sheets rather than individual boards, historically the most traditional powder-room wall treatment of the three.
For a typical powder-room-scale project, all-in cost (material, primer, paint, caulk) commonly lands around $1,800–$3,500 professionally installed. A genuinely scrappy DIY version, buying materials yourself and doing the labor, can come in well under $1,000.
Board and batten is a genuinely good first DIY project
It’s mostly straight cuts and a brad nailer — no pattern-matching, no curves. Measure and mark every batten’s final position on the wall before cutting or nailing a single piece; the most common mistake is uneven spacing from nailing boards up one at a time without a full layout plan first.
What to check before you start
Outlet and switch plate locations often need extended boxes to sit flush with the new wall depth. Confirm the vanity’s final position before trimming around it — redoing trim behind a vanity that moves after the fact is a common, avoidable redo. And check whether your existing baseboard needs replacing to match the new reveal line the treatment creates; it usually does.
Questions before you plan
Should I use real wood or PVC for a powder room wall treatment?
PVC, or at minimum a moisture-rated MDF product, is the safer call directly around the sink and near the floor. A powder room doesn't get shower spray, but ambient humidity is still enough over time to warp or swell a standard wood or unrated MDF batten, especially at the bottom edge where splash and mopping happen most.
How much does board and batten cost for a powder room?
Material runs roughly $10–$23 per square foot for board-and-batten, $10–$20 for shiplap. For a typical powder-room-scale project, all-in cost (material, primer, paint, caulk) commonly lands around $1,800–$3,500, though a genuinely scrappy DIY version can come in well under $1,000 if you're comfortable with the tools.
How tall should wainscoting be in a powder room?
About one-third of the wall's height is the standard proportion — roughly 3 to 3.5 feet for a typical 8-to-11-foot ceiling. Going noticeably taller or shorter than that ratio is what makes wainscoting read as "off" even when people can't say exactly why.
Is board and batten a good beginner DIY project?
Yes, genuinely one of the more approachable wall treatments to start with — it's mostly straight cuts and a brad nailer, no curves or pattern-matching to fight with. Measure and mark every board's position on the wall before you cut or nail anything; the most common mistake is spacing battens unevenly because of rushing straight from measuring to nailing one at a time.
What should I check before starting a wall treatment project?
Outlet and switch plate locations (you'll likely need to extend boxes to sit flush with the new depth), the vanity's final position (trim work behind a vanity that hasn't been installed yet is a common redo), and whether your baseboard needs replacing to match the new reveal line. All three are easy to overlook until the project's already underway.